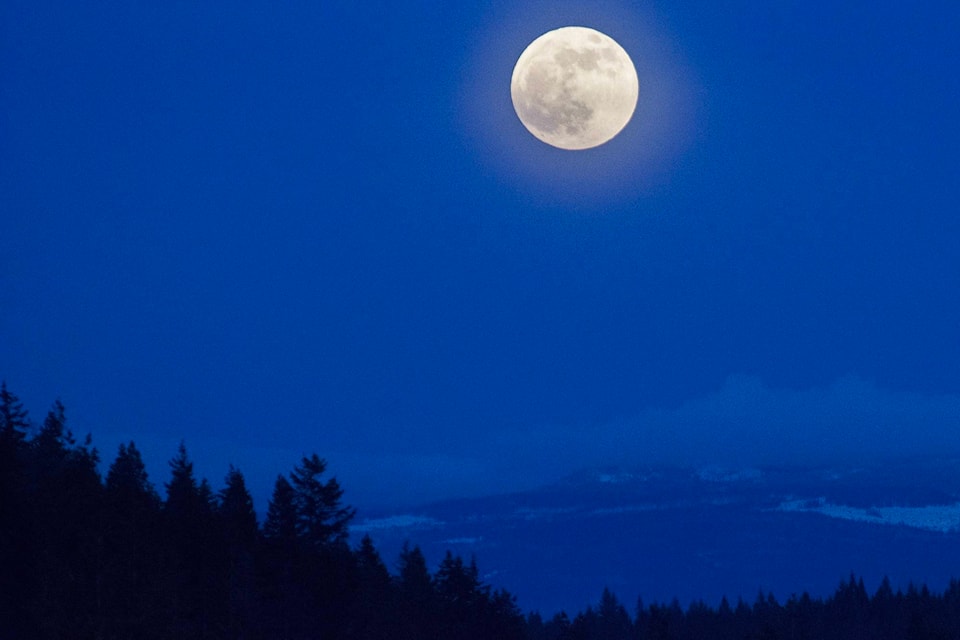
The other night I looked up at one of the brightest, most detailed full moons I can recall seeing in years.
It really was impressive just hanging there in the night sky.
It was the kind of moon you could have described as “picture perfect.”
As a kid I remember setting my Kodak Brownie Hawkeye on top of a fence post, taping it down with black electrical tape.
I wedged a piece of wood under the front of the camera so the viewfinder held what I hoped would turn out to be a dramatic image of an autumn moon hovering in a orange and purple prairie sky.
I remember taking all sorts of time exposures. I also remember forking out my hard earned, 50-cents-a-week allowance for a bunch of dull, unexciting, nothing, miserable prints of a pathetic little tiny moon sitting in a greyish-black sky above a murky brown field.
Not what I had hoped for to say the least.
Since that early failure I’ve managed to learn a few things about capturing images of the moon.
Before you even start to think about ISO, shutter speeds and exposure, first and foremost you need to mount your camera on a good, steady, heavy-duty tripod.
While hand-held images can be attained with today’s cameras, they will likely still not be sharp when blown up to any degree.
You need to use a tripod; it’s that simple.
Having said that, in recent years there have been a number of interesting, relatively inexpensive astro-imaging devices that have come onto the market such as tracking mounts.
These are basically motorized heads that attach to a tripod head and slowly rotate in sync with the rotation of the Earth to counteract the apparent movement of the sky. There are also a number of computer imaging programs and techniques that can be used to sharpen your lunar images afterwards.
While many digital cameras these days have an automatic setting for night shots, you will achieve a much more detailed photographic image if you set your ISO, shutter speed and aperture settings manually. Start with an ISO of 50 or 100.
Remember the moon is also the light source — it will affect your camera’s sensor more than you might think.
Set the aperture to about f/11 and start with an exposure of about 1/60 of a second. This is only a starting point though.
You will have to make some fine adjustments to these settings to attain the best exposure for the particular phase of the moon and night sky conditions you are shooting.
Focusing too is more precise when you use manual focus.
Read more: How much do you know about the moon?
Read more: Micro moon rises for Friday the 13th
Read more:
As for focal length, sometimes you might want to photograph the moon by itself using a telephoto lens to capture in detail its craters, or use a wide angle lens to create an interesting landscape with the moon as part of the composition.
Since the moon is much brighter than any other deep-sky object, you won’t need a long exposure to obtain a clear, bright image of the lunar surface.
When the moon is between the Earth and the sun, we get what is called a “new moon” because no sunlight falls on the side of the moon facing us.
When the opposite is true, and the Earth is between the moon and sun, the side of the moon facing us is lit up and we get a full moon.
As a new moon becomes illuminated by the sun, it passes through a crescent phase, then a quarter phase, followed by a gibbous phase and, finally, a full moon.
When the Earth’s shadow starts moving from the other side, the cycle repeats itself in reverse until there is a new moon again.
Consider photographing the moon in any or all its various phases. Remember to adjust your exposure accordingly — a longer exposure is required for a quarter or half moon phase than would be needed during the full moon, simply because a quarter or half moon throws less light than a full moon.
Photographing the moon can be as simple or complicated as you want to make it.
From detailed close-ups of the moon and its craters to dramatic landscapes with the moon as but a part of the overall composition to photographic images where the inclusion of the moon helps make a photographic statement, the choice is yours. You are bound to do better than my first early tries.
@SalmonArm
marthawickett@saobserver.net
Like us on Facebook and follow us on Twitter